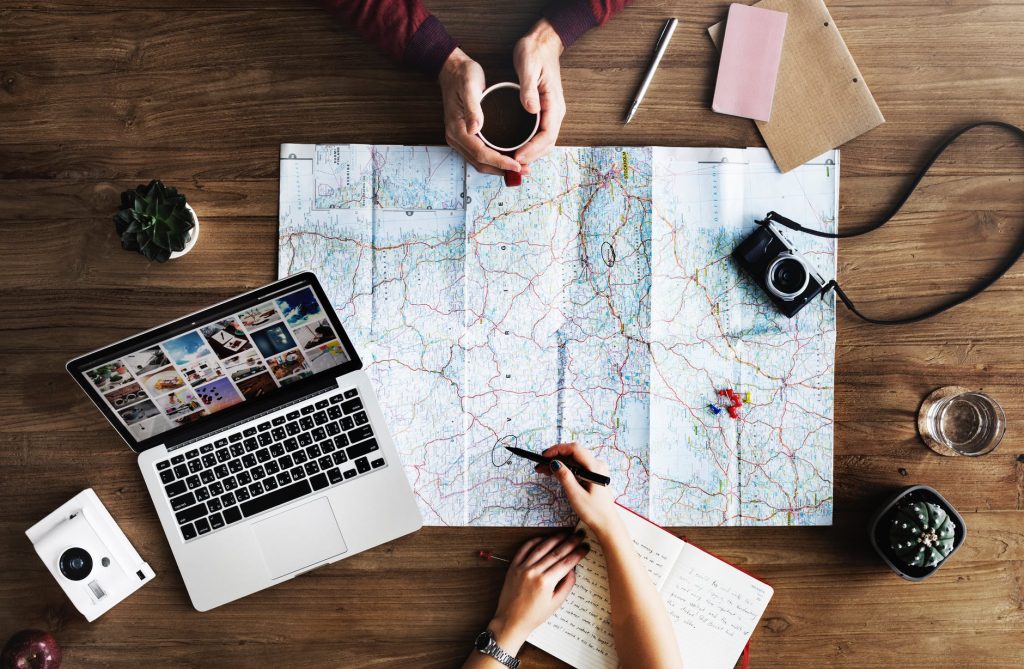
If you are looking to build a travel blog and don’t know where to start, this is the right post for you to read. A few month ago, I blogged on how to grow your travel blog and after a while, but how do you exactly start a travel blog in the first place? Then I noticed that I had put the cart before the horse which made me want to share the simple steps for getting your blog up and running. Read through the various steps below and you will be on your way to building an audience and sharing all your unique travel stories!
Step 1: Pick a name
Picking domain name is essentially picking the name for your website. Usually, the domain name is also the title of the blog. This is the first thing you need to do. There are no hard and fast rules on what to pick when picking your domain name. There is nothing like a wrong domain. However, there are things you should be aware of in order to pick the best domain:
- Make a name that can last. If you decide to pick “BrownEuropeAdventure.com” and then leave Europe, the domain won’t make sense anymore. Make sure the domain name you intend to pick does not focus on a particular aspect so that when you decide to change your focus or shift gears, you can still keep the same.
- Try to avoid words that have been done to death and that is cliché like ‘nomad’ and ‘magical adventures’.
Step 2: Sign up for Hostgator
You will need to register it and buy hosting (the little computer that’s going to power your website) after you’ve picked out your domain name. Hostgator and Blue host are among the biggest companies that you can utilise. These programs are simple to utilise and have a play around in case your domain name is unfortunately already taken by another user. 
Step 3: Install WordPress
The next step you want to do is to install WordPress after you have registered your domain name and received your hosting package. The host is simply the computer your site sits on, what will actually run the website is WordPress.
Step 4: Install your plugins
When you have successfully installed WordPress onto Hostgator, you will need to launch this URL “domainname.com/wp-admin” and used the username and password you created to log in.
The nest thing to do is to install plugins as they offer additional functionality to a WordPress-powered site.
Step 5: Install your theme
The next step is for you to make your website look pretty as a good design website is part of the vital thing a blog needs besides good content. A well-design website will make your readers trust your blog and choose to stay whereas a visually unappealing website will definitely turn off readers and reduce the number of return readers. Step 6: Create your main pages
The next step is in addition to the blog posts is to make a few basic pages on your website in. You may have an about page and a contact page. Once your pages are set up, start posting blog posts about your travels. Come up with a content strategy and plan out what your posts will be about. You can post weekly or monthly depending on the time you have. You can go to a digital copywriting agency with your ideas and get them to help you write blog posts based on your thoughts.
Bravo! You have created your basic website.
You’ve set up your basic website. Sure, there are social media buttons to add, blogs to write, and images to upload but the basic framework of your blog can be created with these 6 steps!
